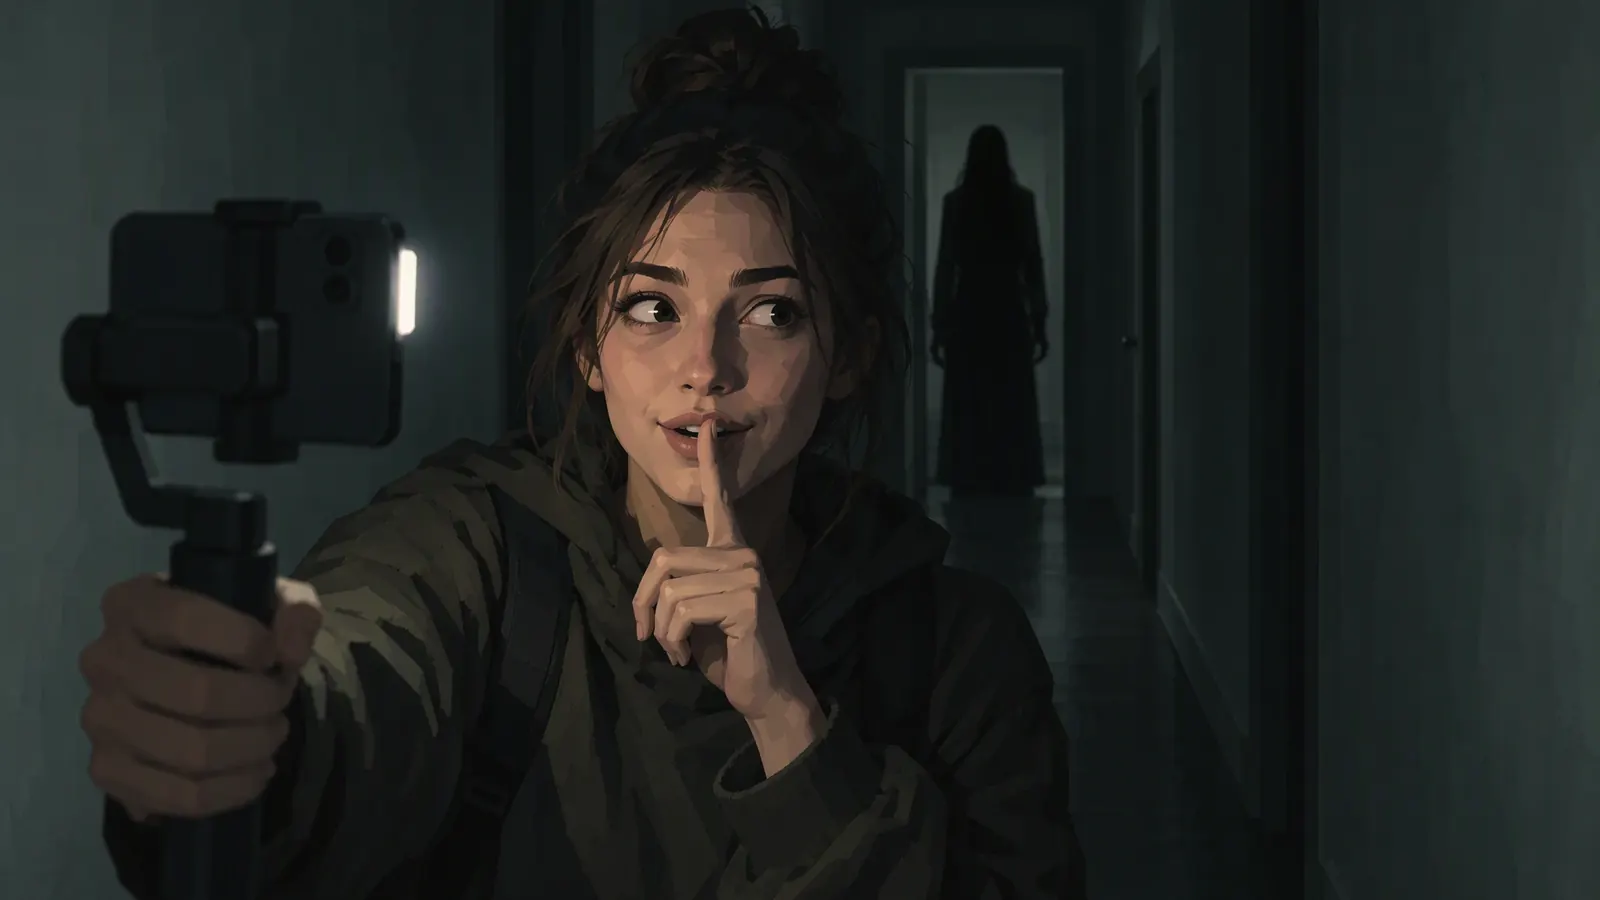
A scary voice on TikTok can come from three places: TikTok's own editor, CapCut, or a custom audio file you make elsewhere and bring in. The first two are quick and use whatever effects those apps offer. The third gives you a voice designed for horror, which matters when the voice carries the whole video: a creepy storytime, an analog horror tape, a voice line for your game.
The app steps below come from TikTok's and CapCut's own help pages, checked in November 2026. Both apps update often, so a button may move.
Option 1: TikTok's built-in voice effects
- In the TikTok app, tap Add post +, then record, or tap Upload to use a video from your device.
- Open the editing tools with the Edit button on the side panel. After recording you may need to tap Continue first; after an upload, tap Next.
- Tap Voice on the side panel.
- Tap the voice effects to preview them, pick one and tap Save.
To narrate over footage instead, tap Voice, then Record, record your voiceover, tap Done, choose an effect and tap Save. For a creak or a thud, tap Sound, then Sound effect, preview one and tap Use.
Which effects appear is up to TikTok. Preview each on your actual line: an effect that sounds silly on a joke can sound wrong in the right way on a slow, quiet sentence.
Option 2: TikTok text-to-speech
- Tap Add post + and record or upload a video.
- Tap Text and type the line.
- Tap the text, then select Text-to-speech.
A creepy voice on TikTok doesn't always need a filter: a calm synthetic voice reading something awful never reacts to what it says. Keep lines short and specific, and leave a beat of silence after the worst one.
Option 3: A scary voice in CapCut
In the CapCut mobile app, start a new project and add your clip. Tap the clip in the timeline, then choose Audio and Voice effects. Tap an effect to apply and preview it, adjust it, then tap Export.
In CapCut desktop, import the clip, drag it to the timeline and select it. Open the Audio tab in the panel at the top right and scroll to the Voice changer section. Click an effect to apply it, then Export.
CapCut has text-to-speech too: add a text layer, select it, choose Text-to-Speech, pick a voice and tap Generate. Browse the voice list before you write around one particular voice.
Option 4: Make a custom scary voice
When the voice is the video, build it in AI Scary Voice, a studio of horror voices and effects that run in your browser, then bring the file into CapCut.
From text
- In the Text to speech tab, pick a voice: Whisperer for frightened storytime, Stranger for calm and wrong, Broadcast for analog horror, Undertaker for something deep.
- Type the line. Every visitor gets 3 free generations a day of up to 300 characters, with no sign-up.
- Choose an effect, such as Ghost, Echo or Analog, and set the intensity. Changing effects never regenerates the voice.
- Generate, play, and download the WAV with effect. The Raw MP3 is the clean voice without it.
From your own voice
- Open the Voice changer tab and press Record (up to 60 seconds), or upload an MP3, WAV, M4A, OGG or WebM file of up to 3 minutes and 25 MB.
- Pick an effect and an intensity, then play it back.
- Download the WAV with effect from the export bar.
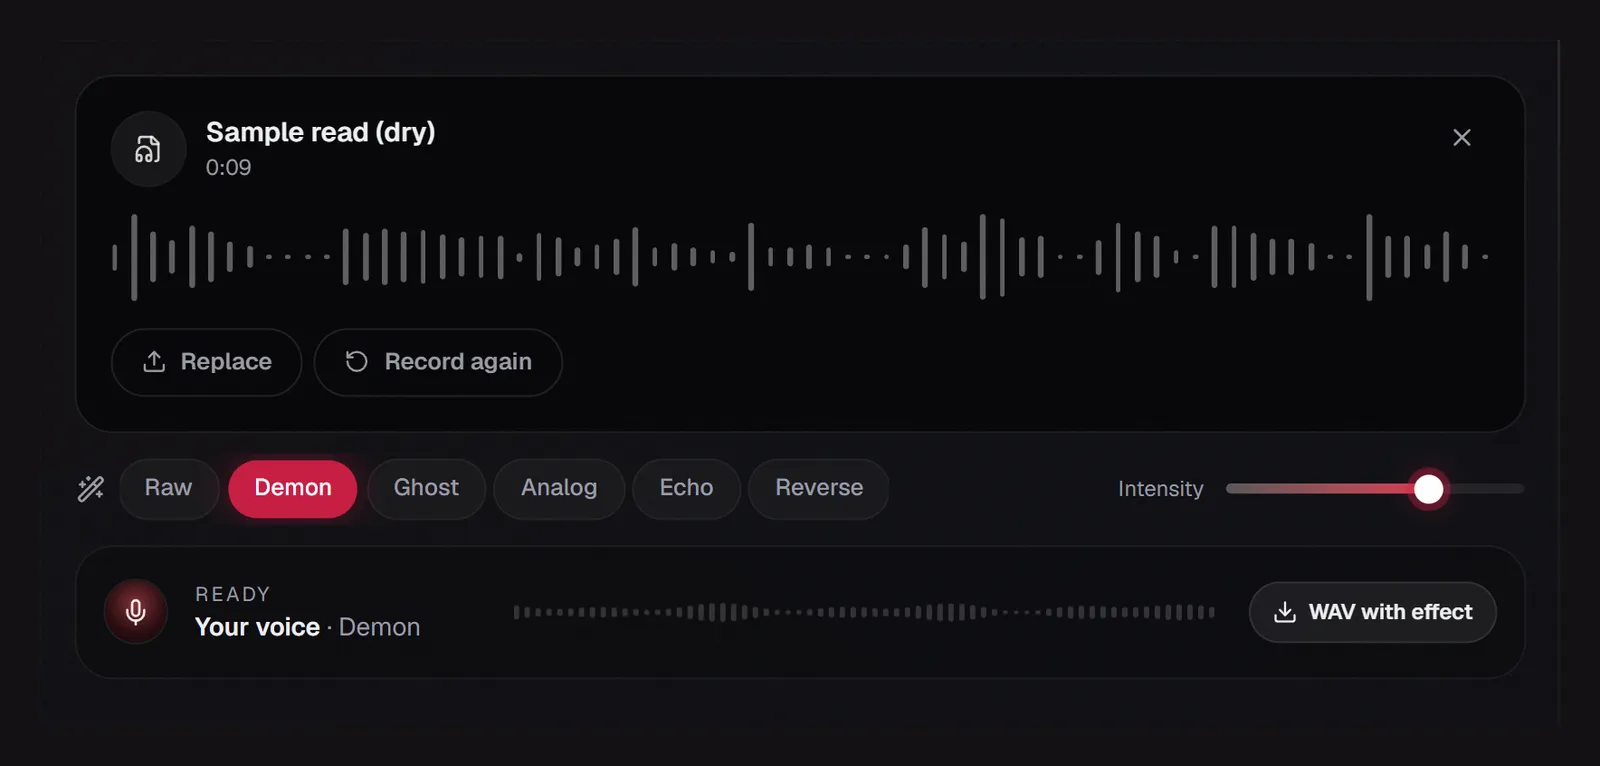
The voice changer is free, runs in your browser, never uploads your recording and does not use your daily generations. It is not a live voice changer, so it will not work on a TikTok LIVE or a call.
Add a sound effect
In the Sound effects tab, describe a sound, such as a heavy door creaking open in an empty house, and generate it. Turn on Seamless loop for ambience like rain or a low drone. Each generation gives up to two takes and shares the 3 free daily generations. Download the raw MP3, or a WAV with an effect added.
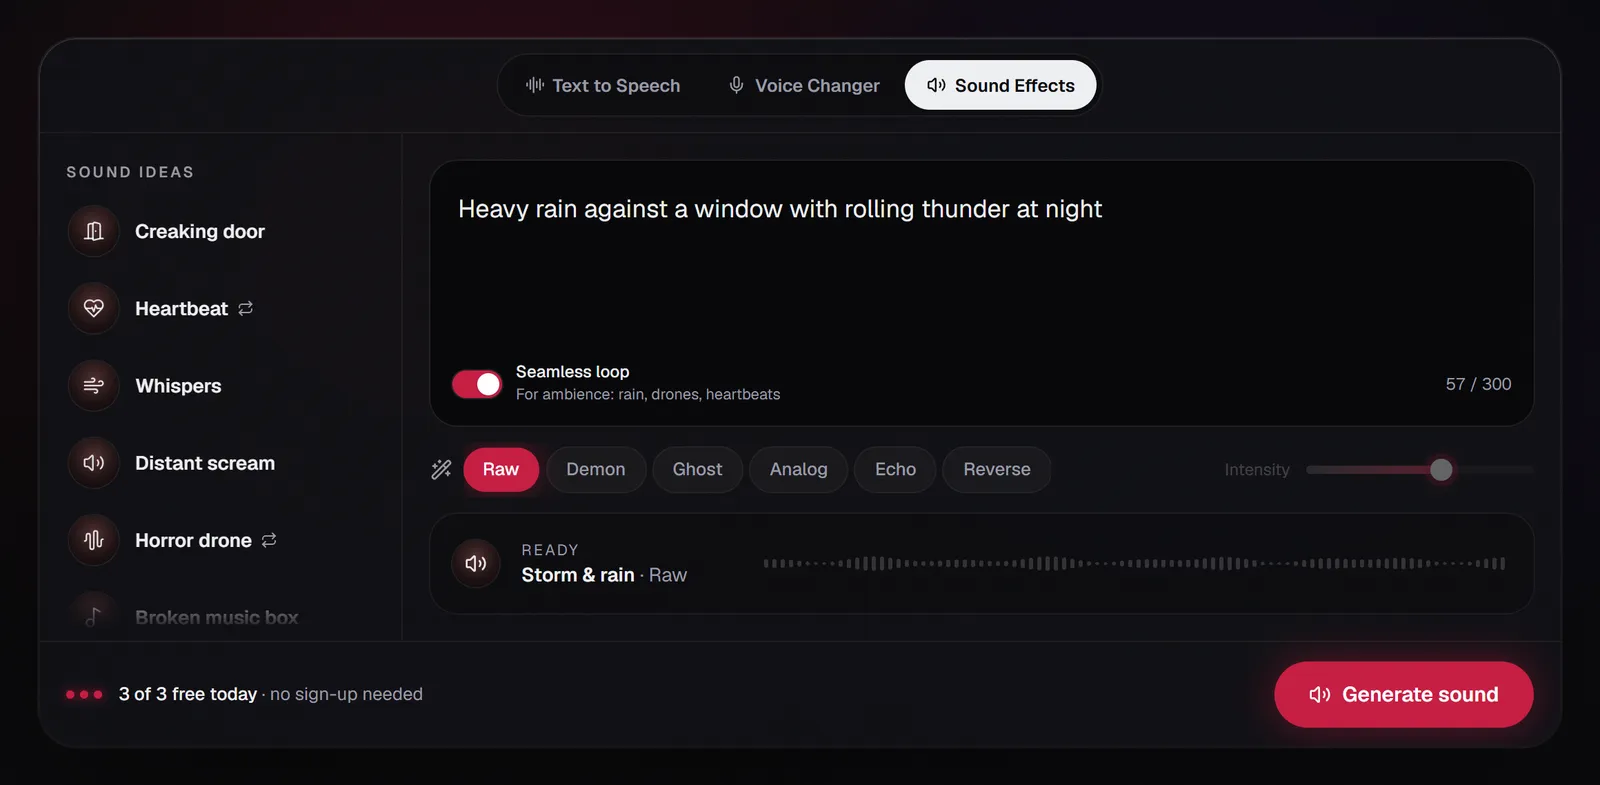
For more sounds, see the scary sound effects generator.
Put it together in CapCut and sync the captions
- Import. Bring the video and the WAV into one project, with the WAV on its own track under the clip. Turn the clip's own sound down if the new voice replaces it.
- Caption. On mobile, tap Text, then Auto Captions, and select the audio source. On desktop, go to Text, then Auto Captions, choose the language and audio track, and click Recognize.
- Fix the words. Heavy effects can confuse speech recognition. Select a caption and choose Edit captions; you wrote the script, so paste the real line. To split a long caption, place the playhead and use the scissors icon on mobile, or Ctrl+B (Cmd+B on a Mac) on desktop.
- Time it to the file you use. Most effects slow the voice slightly: Demon at 100% plays at 0.7× speed, Reverse at 0.88×. Captions timed to the clean MP3 will drift, so caption the WAV that is actually in the video.
- Export and post. Export from CapCut, then add the video to TikTok with Upload.
Lines that work in a short video
Short videos reward one sharp line over a monologue.
- Whisperer, Echo 40%: "I counted the stairs again tonight. Still fourteen. There used to be thirteen."
- Stranger, no effect: "You can stop pretending to be asleep. I can hear you blinking."
- Broadcast, Analog 70%: "This station will now resume normal programming. Please remain facing the screen."
- Matron, Ghost 40%: "Lights out, darling. I'll count to ten. You won't hear me get to nine."
For more on shaping the voice, see how to make a scary voice and scary voice effects, explained.
Rules worth knowing
- Label realistic AI audio. TikTok requires creators to label AI-generated content that contains realistic audio. Before posting, tap Next, then More options, and turn on the AI-generated content setting.
- No real people. Don't make a voice pass as a real person or put words in someone's mouth. TikTok's rules and AI Scary Voice's terms both rule that out.
- Fiction, with consent. Use the audio in your own videos, including monetized ones, but never to frighten anyone who has not agreed to it.
FAQ
How do you get the scary voice on TikTok?
Open the editing tools on your clip, tap Voice on the side panel and preview the voice effects. For a voice made for horror, create it in AI Scary Voice, download the WAV and add it to your video in an editor such as CapCut.
How do you make a creepy voice on CapCut?
On mobile, select the clip and choose Audio, then Voice effects. On desktop, select the clip, open the Audio tab and use the Voice changer section. For a custom horror voice, import a WAV from AI Scary Voice.
Can TikTok text-to-speech sound scary?
It can sound creepy, because a calm synthetic voice never reacts to frightening words. Write short, specific lines and leave gaps. For growls, ghosts or a broadcast sound, make the voice elsewhere and import it.
Do I need to label an AI voice on TikTok?
TikTok requires a label on AI-generated content with realistic audio and encourages labelling AI-generated speech. Turn on the AI-generated content setting under More options before you post.
Can I use a scary voice changer live on TikTok?
Not this one. The AI Scary Voice voice changer processes recordings in your browser and gives you a WAV; it is not a live voice changer for TikTok LIVE or calls.